


")
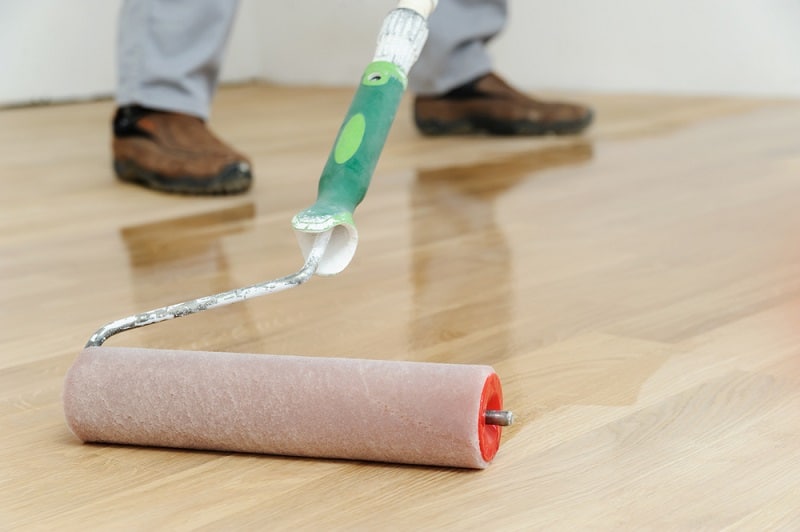
People having wooden floors in their homes or carpeted floors having timber, might require shining to give a new look. This can be done by using sanding machines which can strip, scrub, burnish, and polish the timber floor. Even you can also go for the floor sanding and polishing for your concrete floor and that can be done by the trained professionals. Maintenance of the floor is essential, and you need to maintain the floor by cleaning and polishing. So, you can search some floor sanding and polishing professionals online and choose the best for your home improvement.
Steps Of Floor Sanding And Polishing
1. Preparation Done To Sand The Floorboards
Before starting the floor sanding and polishing, you need to clean your floor and you must check the porous portions on the floor. Apart from that, for the wooden floor, sometimes you can find some nails and screws on the floor, and you must fix them with a hammer and nail punch. If you have a carpet, carefully lift the carpet away at the edges or you can use floor stripper if the carpet is glued down. It is suggested to close and seal your doors and windows during floor sanding and polishing. Huge amount of dust can accumulated from your floor polishing and they can spread away from your doors and windows. Then you need to clean the exterior areas along with the indoor as well. To avoid such hectic cleaning job, you can seal all outlets before you start the floor sanding and polishing.
2. Installation Of Sandpaper Belt Into The Drum Of The Sand Machine
When you are sanding older floors, a coarse sanding paper (40-grit paper) is a good choice and you can switch to medium or fine papers if you wish to go for more professional and polished look. For a better floor a lighter sandpaper of 60-80 grit is fine and for second pass, you can use a finer sandpaper of 120 grits.
In the sand machine, you need to lay the drum sander on its side. Next, lift up the cover of the drum and slide the paper on. If the sandpaper is tight and difficult to install, then you can wipe a bit of fine sawdust inside of the belt to help to slide it on.
3. Sanding Of The Floor With Drum Sander
Make sure that the drumhead is sitting off the floor and then only pull back the lever which will drop the drumhead onto the surface of the floor. To achieve best results and professional look finish, push the drum sander forward along the grain of the floorboards but one row at a time. While reaching the end of row push the lever down to lift the drum off the floor. Then you can reposition the sander to start the next row and continue the same way until the entire area is covered.
4. Sanding The Floor Edges With Edging Sander
With the help of edging sander, you can get closer to the skirting boards where the drum sander machine cannot reach. These sanders use a disc that can stand across the grain and a finer grit paper is required compared to those used in the drum sander machine.
5. Sanding Of The Tight Corners Using A Detail Sander
Detail sanders are useful for sanding the tight corners such as area under the kitchen cabinets and inside the cupboards. These can reach to those areas where the other more powerful sanders cannot reach. For better results, move the sander with even and gradual motion.
Therefore, with the help of sander machine, you can give your timber or carpeted floor a polished and finish look. But it is always suggested to hire trained professionals in this regard.


